Voltage, reference points, and window comparators
As I reflect on questions that have come up in the Creative Electronics for All classes and simultaneously consider the best way to talk about what the Quad Comparator does, I have found myself spending a good amount of time chewing on the concept of voltage.
I often think about a water tank to conceptualize what voltage is. I can see the iconic NYC water tanks sitting on top of their buildings and think about their potential energy. I imagine connecting a tiny hose to it and mischievously spraying water on the street below and also consider the full contents dropping down on me as one giant, consuming mass of water.
A voltage is potential energy. It is broadly speaking a pressure from a power source that pushes electrons through a circuit, enabling work to be done. The batteries we use in CEFA classes are 9V, the voltage coming from household outlets is 120V, and regardless of how much you know about the science it is likely clear that one has more potential than the other.
In order to measure voltage we need a reference point. Often this is some kind of “ground” or a return terminal (the place where the electrons theoretically end up). It can be literally the earth ground (everything “theoretically ends up” there) or the chassis of a piece of equipment or vehicle (chassis ground) or a reference/return point in a circuit (signal ground). When we measure how much voltage a battery has we use its opposite terminal as a reference - that’s where the electrons end up and we often use it as signal ground.
I often see these used interchangeably (particularly signal and earth), but it’s good to know the difference when looking at a schematic.
A comparator is a circuit that compares an incoming signal to a reference voltage. The comparator has two inputs (signal and reference) and one output. It can be configured so that the output is high when the input signal is greater than the reference voltage or alternatively output high when signal is less than reference.
Purple area highlights where signal is above the reference point. The wave is alternating between 0V and 5V, and while we didn’t specify where the reference point is, we can see that the red line is somewhere above halfway (call it 3V?).
In this case the purple area highlights where signal is below the reference point.
A window comparator combines both of these options, so the output is high when the input signal is between two reference points.
Output is “activated” (high level out) when wave passes between the two reference points, low when it is above the high reference or below the low reference.
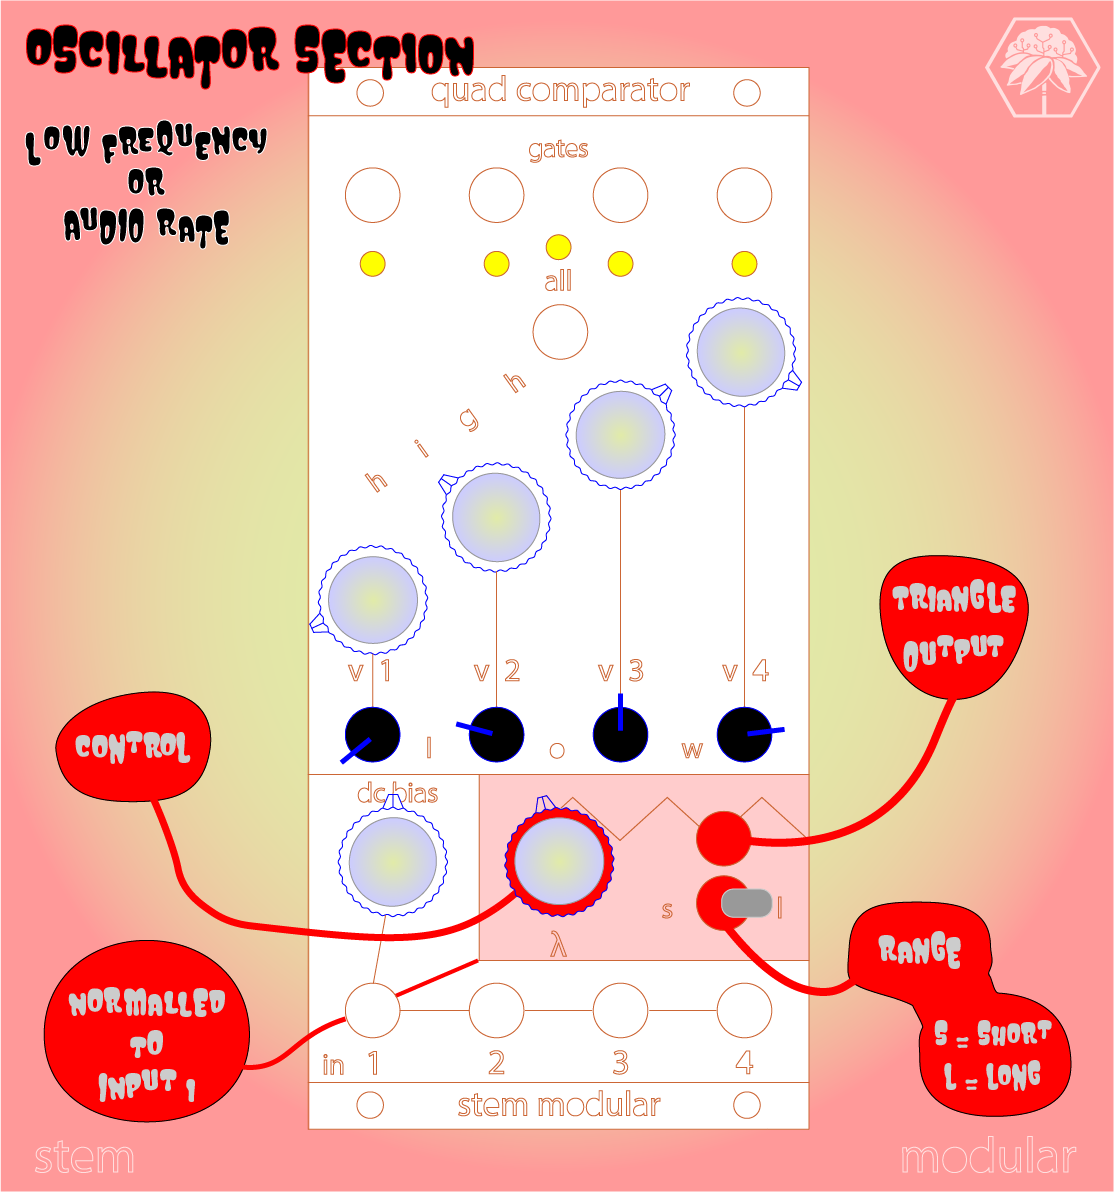
The Quad Comparator module consists of four window comparators with manual control of high and low reference voltage for each. Additionally the inputs are default connected together, so all four window comparators can be used on one incoming signal.
The four window comparators each have controls to manually set high and low reference voltage.
The inputs are normalled together so that the four window comparators can work together on one incoming signal or work independently on separate signals.
An internal oscillator is normalled to input 1 and allows for the module to be used without any external signals. DC bias shifts the incoming signal higher or lower.
The concept may feel more convoluted than a typical sequencer at first, but it is actually pretty straightforward. Because of its flexibility it can be used to create sequences, pulsewidth audio, distortion, and more depending on how it is configured.
If you’ve made it this far and are interested in learning more, look into our classes (we’ll be posting some new ones soon). Eventually we will be making some window comparator diy projects available, but no idea when at this point. If you have any voltage wisdom to share, please feel free to leave a kind comment.
DIY eurorack drums with a Teensy
Recently I wanted to add some drums to my systems, specifically taking advantage of the gate outputs of the Quad Comparator to sequence some beats. I had a Teensy 3.6 and knew there was some example code that uses it to play drum samples triggered by a push button. The beauty of modular is that we can replace a button push or knob turn with control voltage, and doing so with the Teensy turned out to be pretty straightforward.
The official Teensy audio examples use tactile buttons to trigger events, and in the “sample player” example it sets the Teensy inputs to a “high” (in this case 3.3V) voltage level using an internal pull up resistor, and when the button is pressed that voltage goes “low” (GND or 0V). I’ve included an image of the main loop below where you can see “fallingEdge” being used to determine when a sample should be played. In the case of the “button0.fallingEdge()” that I highlighted, that means when the Teensy sees button0’s pin go from high to low “button0.fallingEdge()” will be TRUE and it will play “AudioSampleSnare”.
In a modular system we can use triggers or gates to create the same edge that would result from a button press. To do this I used an NPN transistor, which is a component that can be used like a voltage controlled switch. This will allow us to keep the signal to the Teensy at a value that is safe for it, and require no change to the code, since we can easily convert the rising edge of a gate to the falling edge expected by the code.
To swap the buttons out (and make for as little coding as possible) we want a circuit that pulls inputs to ground when gate is active. We can set an NPN transistor up so that 3.3V is at the collector and GND is at the emitter, so when the transistor is in saturation mode (acting like a short circuit) the Teensy pin will be pulled from 3.3V to GND (0V) making a “fallingEdge” that our code will recognize and do something with (trigger drum sound). Schematic for one gate to Teensy conversion is shown below.
What I was reminded of through internet searching/double-checking/self-doubting (ultimately from this ModWiggler thread) is that in addition to a simple transistor switch circuit I should also be careful about reverse voltage between the base and emitter of the transistor. This can destroy a transistor and a simple safety measure is to place a diode between the emitter and base (as seen in image above).
Now there are some way fancier ways to do this, but I was (and often am) looking for a quick way to get an idea up and running, and it doesn’t get much more straightforward than this. A more detailed explanation with modular example is in the works, but for now there’s this IG video and this TikTok. Feel free to comment any questions or ideas, but please be kind.
DIY Eurorack Case
People often compliment the wooden cases that I house the STEM Modular system in, so here’s how to make your own pretty easily. There are other methods out there, but I think this is pretty simple yet also involves a healthy amount of commitment.
60HP box
Backstory
STEM Modular, in addition to being a connection between STEM and electronic music, is also my way of making an affordable eurorack system for myself. I have experienced with a number of ways to add frugality to my modular pursuits, and creating cases was one of the most gratifying, albeit physical labor intensive.
I have made a number of different eurorack cases myself, starting with repurposed old suitcases and moving on to laser cut bamboo. I started with some very long vector rails, threaded inserts (later went with little square nuts), a hacksaw, a metal file, and some bolts from the hardware store. That was probably way more work than I needed to do, but it got the job done.
My first bamboo case. 84HP and a bit deeper than necessary.
Considerations
First off, the cases are laser cut bamboo. There are a number of places online to outsource lasering of a wide variety of materials, or you can do it yourself if you have access to a laser (I don’t own a laser, and having rented time on one at a local makerspace I found it more efficient to outsource the lasering). The size of your box will be restricted by the source material you use, which is likely restricted by the size of laser cutting machine, but with eurorack being so compact it's not a big issue. I have made an 84HP box, but found it more cost effective to make some 60HP boxes (I can fit 2 boxes on one sheet of bamboo) You’ll figure out what works best for you.
Specs
All the specs for eurorack construction can be found on the Doepfer website (particularly this page). This is the information I used to determine the inside dimensions of the box. The height is 3U or 133.4mm and the length is dependent on how many HP you want.
Box "design"
I found a few websites that will automatically generate a box PDF given desired dimensions, and eventually settled on https://makeabox.io/. This particular website asks for internal dimensions and material thickness and generates an image with lines for an enclosed box. Of course we don't want an enclosed box, so I imported my file into Illustrator and edited lines so that one edge of the box is flat and open (see before and after image below).
Depending on the laser you are using you will have to determine what thickness the cutting lines in your image will need to be (for me it was 0.001mm) and if there is any line color requirement (I have used a setup that required blue lines and another that required black).
Rail installation
Now that you have the box you need to get rails into it. I think there is probably already some info about this out there, as DIY cases are not a new thing, but here’s my take anyway. The metal used to make vector rails is actually pretty soft, so if you prefer to sweat in order to save a few bucks you can totally get long rails and cut them to length with a hacksaw. Vector rails can be sourced from a number of different places though, and if you search for “custom length eurorack rails” in a search engine or Etsy you can order the length that fits for you (I really don’t recommend the hacksaw method, but it’s an economical option if you are planning to make a few cases). Eurorack case brackets are the other piece of the puzzle, and will make installing the rails into your box much easier (just make sure you account for their thickness because the inside of your box might need to be slightly wider than your desired HP).
Conclusion
There is a little math involved here, but for the most part it is straightforward (remember: “measure twice, cut once”). In the future I am planning to design around the need for brackets and include holes for mounting vector rails into the laser design of the box, and I will post photos when that happens. Finally, if all of this seems like too much to do but you want a box, you can order “puzzle pieces” or a finished box here (only 60HP available at this time).
Solar Cell Control Voltage
A few years ago I bought a bunch of solar cells that had been harvested from broken solar panels. I have used them to add light control to synth projects with basically zero environmental impact (using trash to generate a voltage from sunlight). Each cell provides up to 0.5V, and I have used up to 5 cells to generate approximately 0 to 2.5V. Recently I combined two cells in a junk 8.25"x10" picture frame to provide ~0-1V of control voltage in a compact and relatively sturdy package (the solar cells are VERY fragile, so if you can solder them together without breaking them it is a good idea to package them safely).
Two solar panels framed with output to a 3.5mm jack.
Generating 0.32V on a cloudy late afternoon in July.
Connecting the solar cells is fairly straight-foward, though their fragility can make things a little tricky. Each cell gives a maximum of 0.5V, and to generate higher voltages we connect the solar cells in series. If we consider the blue side to be a negative potential and the grey side to be positive, then to connect them in series we connect the negative (blue) of one cell to the positive (grey) of the next. Now when we place the positive lead of a voltmeter to the positive lead of the first cell, and the COM lead to the negative of the second cell, we will see a range of 0V to 1V (of course depending on lighting).
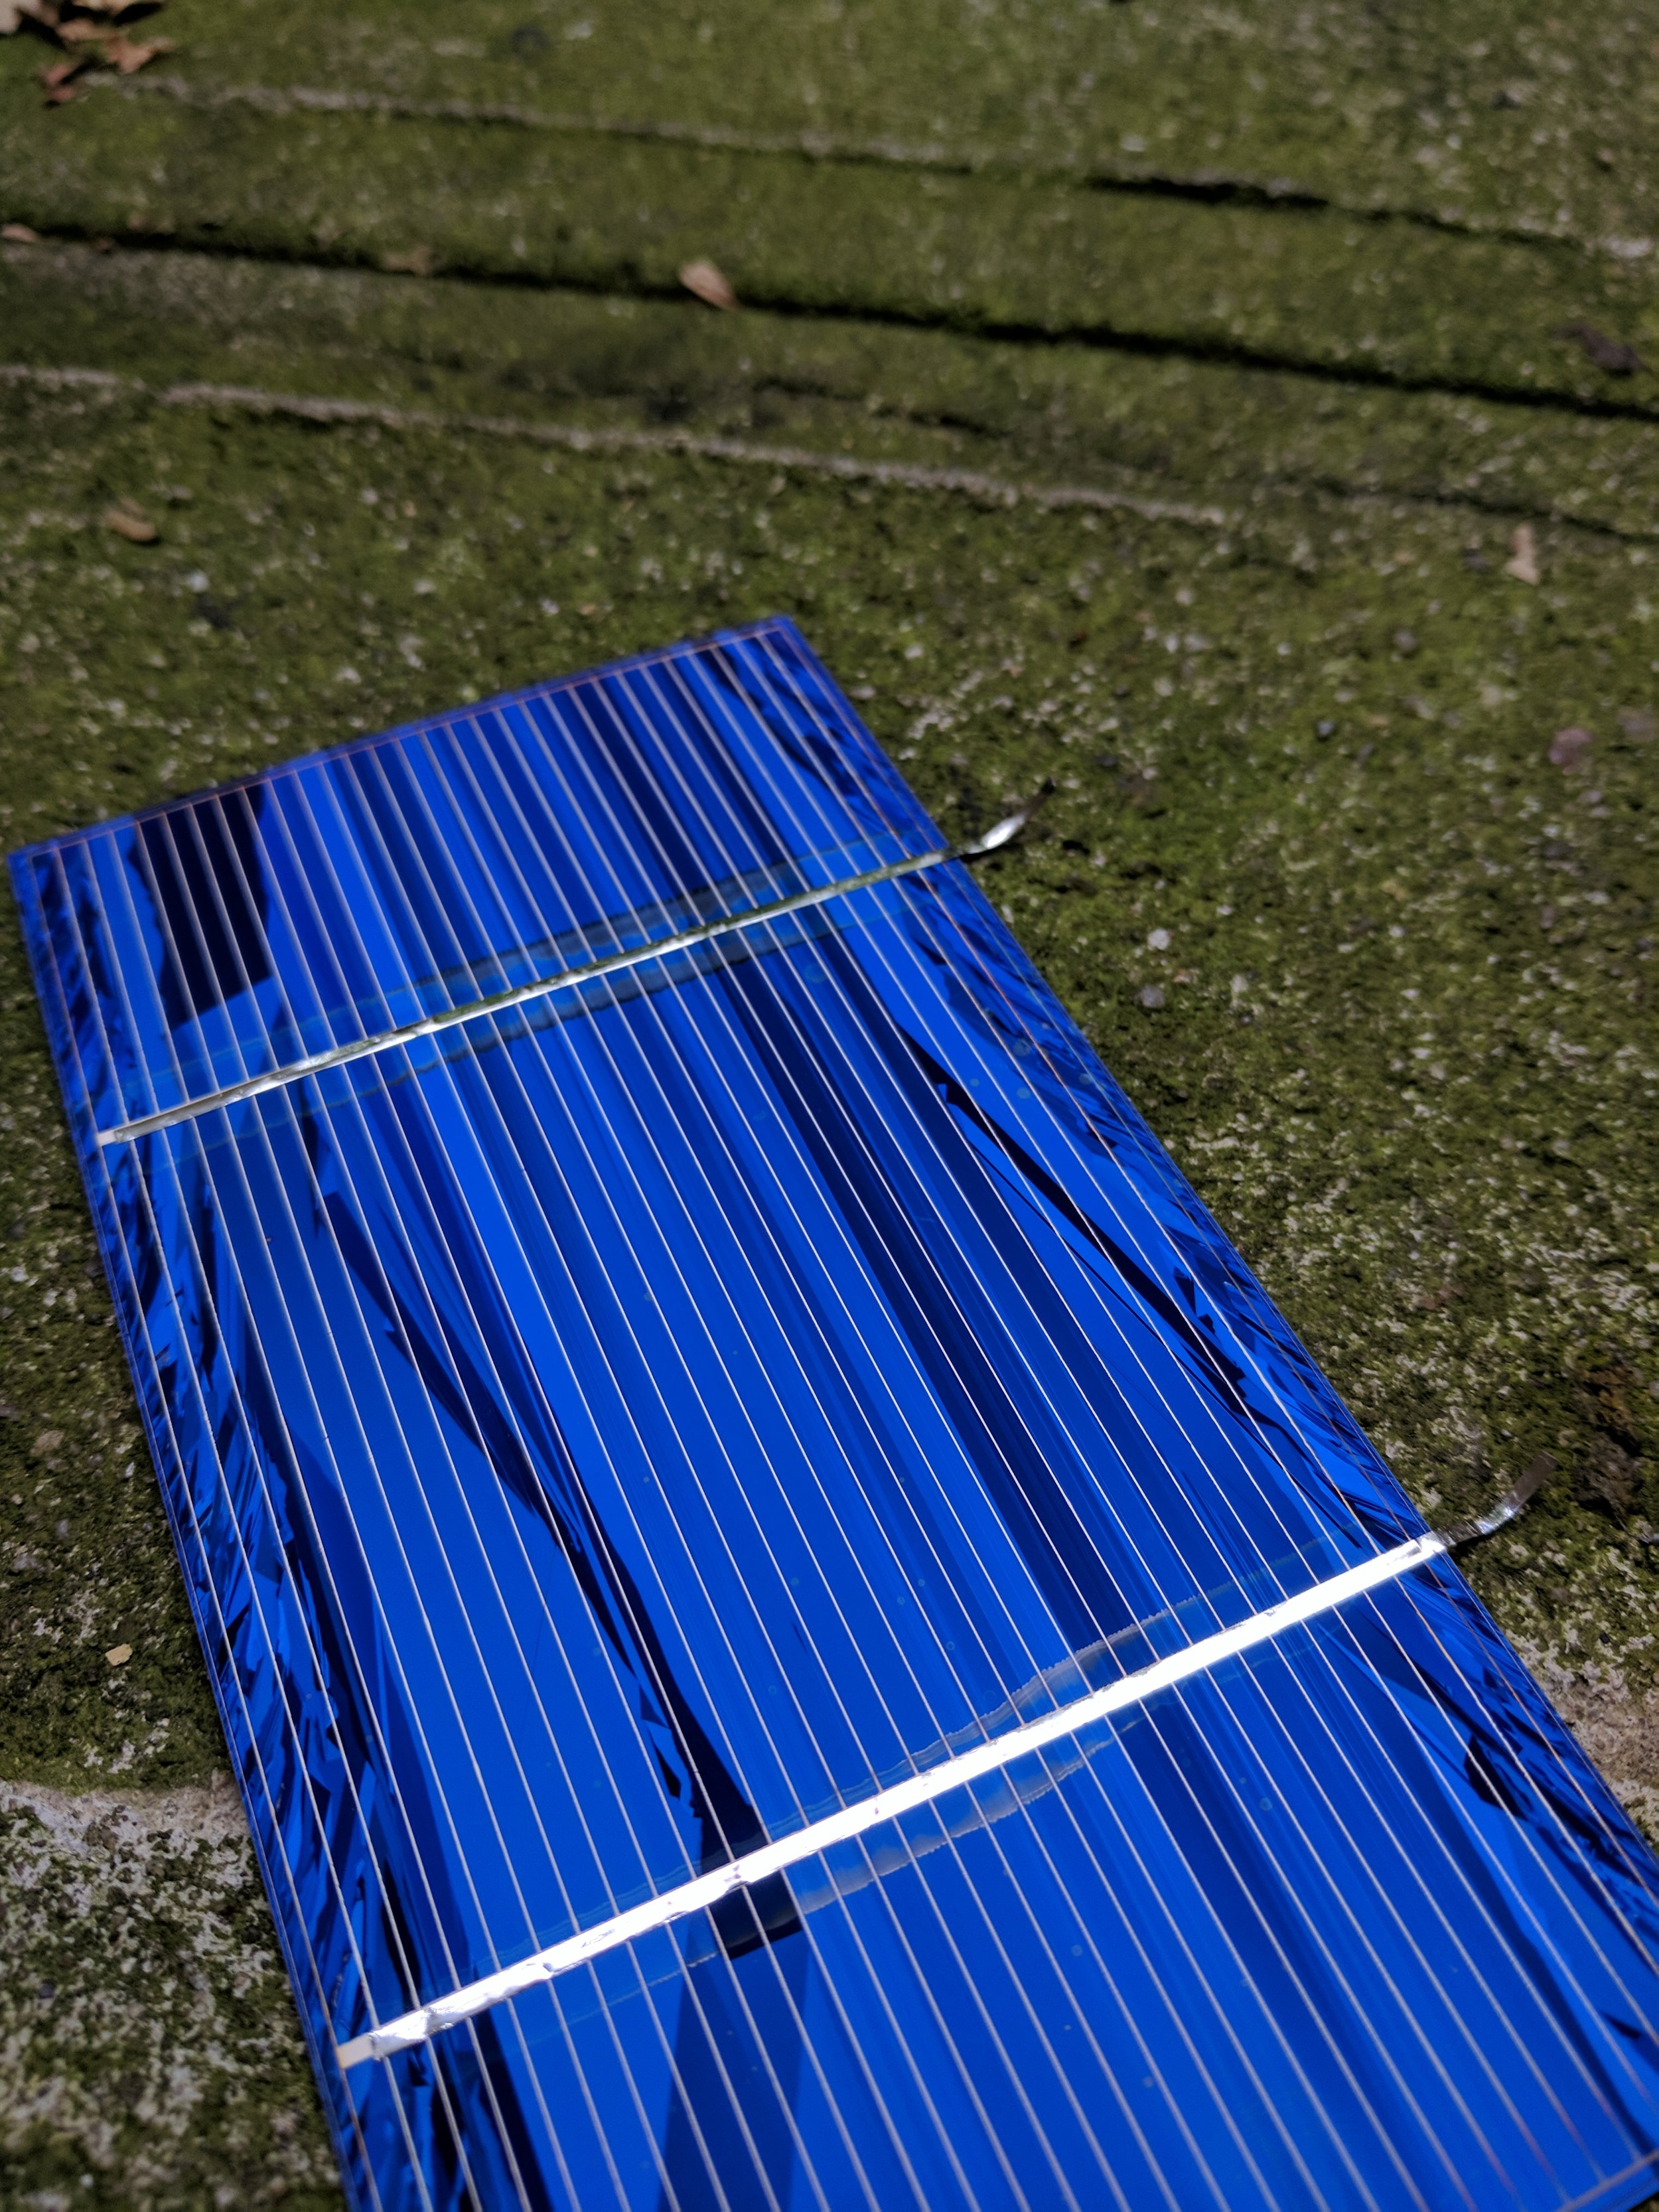
Front of solar cell. The metallic strip running across is soldered to the back of another solar cell to connect them in series and generate higher voltages.
Back of solar sell. Metallic strips are soldered to pads which ultimately connect to the strips on the front of another solar cell to generate higher voltages.
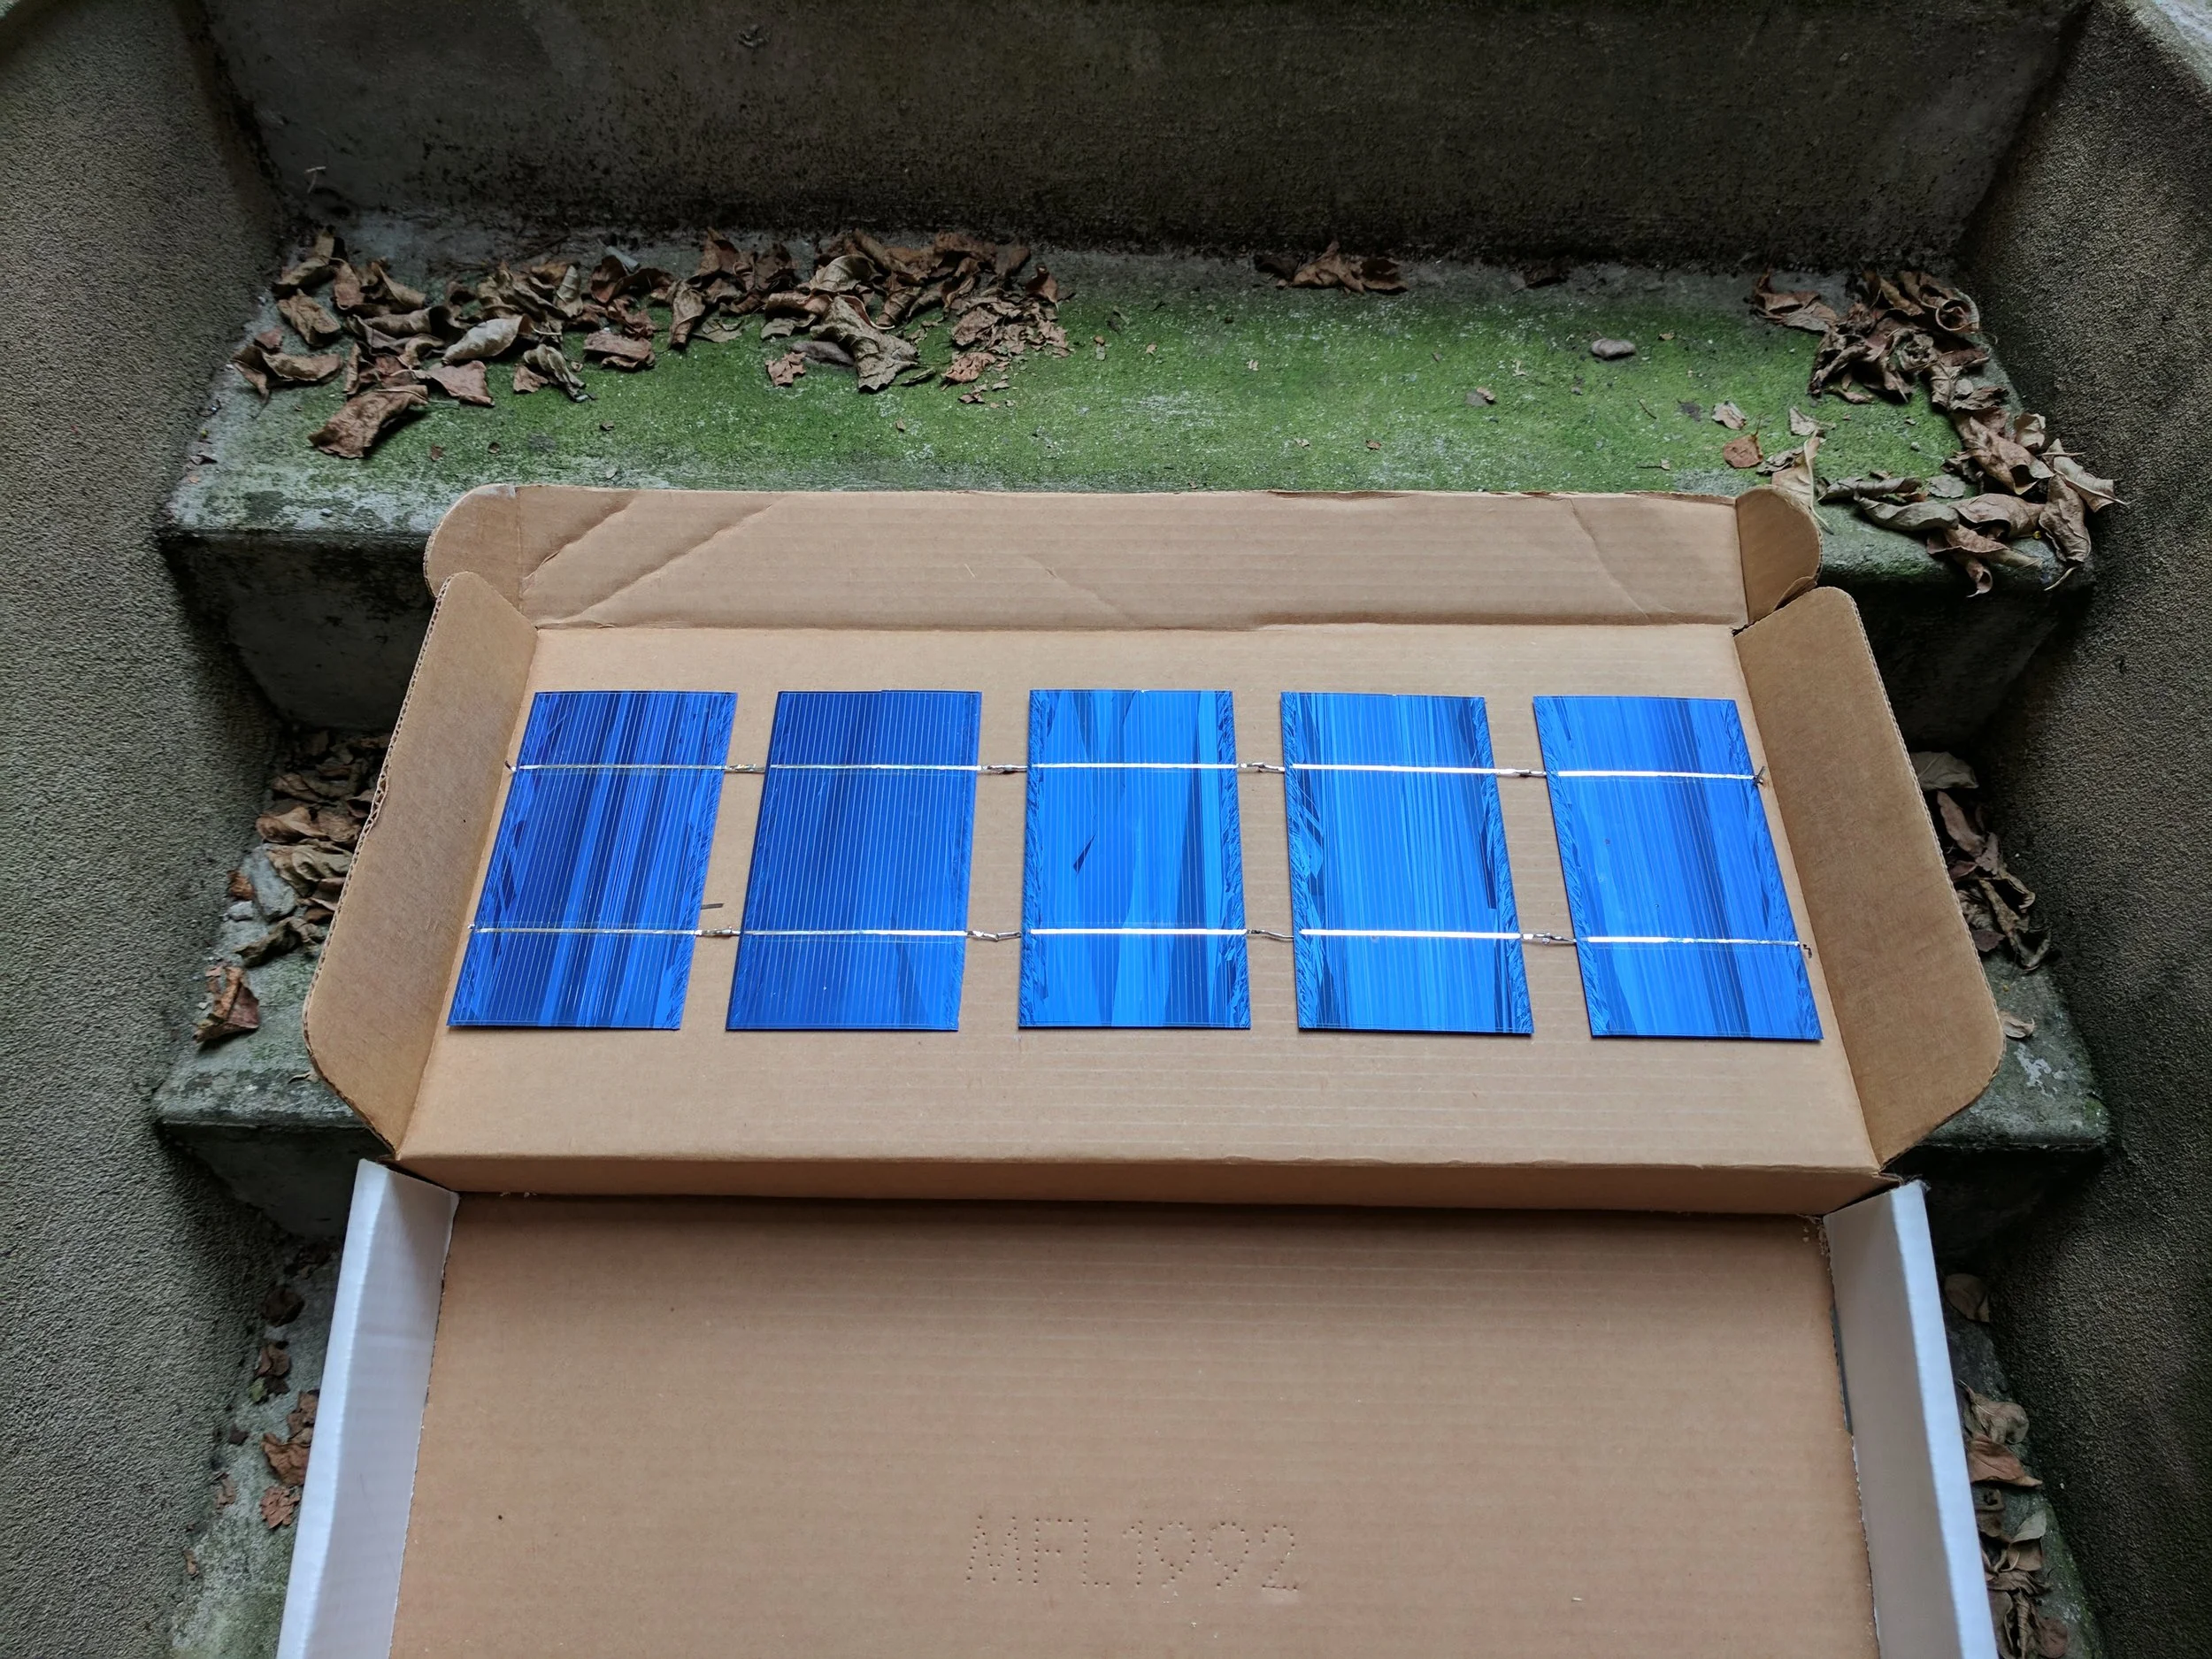
Continuing to add cells in series we create even higher voltages. The max I have done is 5 cells for a performance where I placed the cells inside of a box and controlled the pitch of a homemade synth by opening and closing this box.
Solar box. Control voltage changed by opening and closing the box.
What is behind all of this solar cell voltage generation? Well, it can get complicated pretty quickly, but here's the basic idea:
Semiconductors (the stuff that makes up transistors, diodes, integrated circuit chips, LEDs, and solar cells) are composed of special chemicals that are really good at moving electrons around. A very common semiconductor is Silicon, which is "doped" (chemically bonded) to other chemicals, giving it a tendancy to either accept or reject electrons. In a dormant state, the semiconductor creates a barrier between Silicon that is doped to have extra electrons and Silicon that is doped to "want" electrons. In a solar cell, photons from the sun create a bridge across that barrier, allowing electrons to flow from excess area to wanting area, generating a voltage. Somewhat related, the opposite occurs when a voltage is applied across an LED, generating photons.
Link to write up of a performance with solar synth: http://bedfordandbowery.com/2015/07/apocalypse-chow-zodiac-dinners-and-solar-power-synths-in-a-bed-stuy-garden/


